Modifying Nodes and Node Properties#
The previous chapter we learned how to setup a first application. We also learned about the InstanceGraph. Next we will use it to modify nodes.
Note
Most of the webvis API functions are executed asynchronous using promises. We will use await to schedule the operations.
Nodes#
Each node has a unique ID, through which it is accessed. The node directly above one node is the parentNode and the ones underneath are the childNodes. Nodes have different properties, which can be changed.
Node Properties#
Different aspects (e.g. visual representation, location, …) of a node are stored in node properties. Changing these properties will reflect in direct visual feedback, as is demonstrated in this tutorial. Therefore we will use the setProperty function.
Changing Visibility#
appearanceURI link nodes are visible:
await context.setProperty(nodeID, "enabled", true); //makes a node visible
Changing Color and Transparency#
We use the enum member appearanceURI to change the color and transparency.
<!--> makes the node appear semi-transparent red <-->
await context.setProperty(nodeId, "appearanceURI", "ff000050");
There are predefinded colors All CSS color names and RGB hex-codes are supported:
urn:X-l3d:color:red
urn:X-l3d:color:rgb:ff0000
urn:X-l3d:color:rgba:ff0000ff
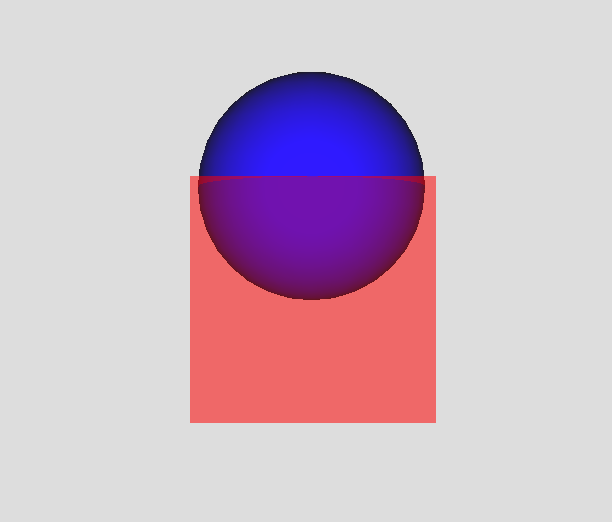
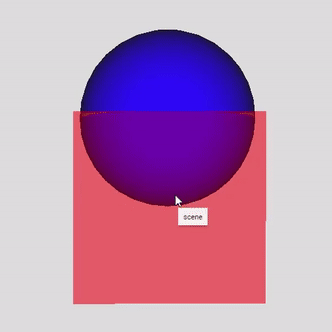
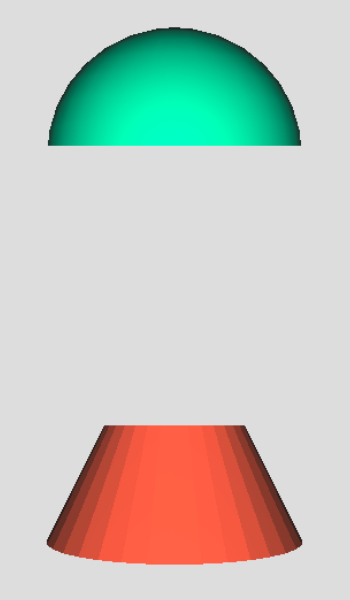
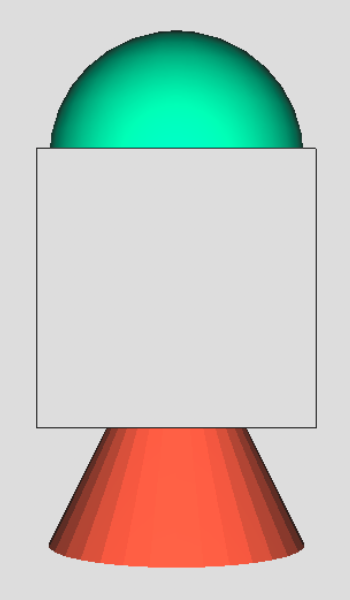
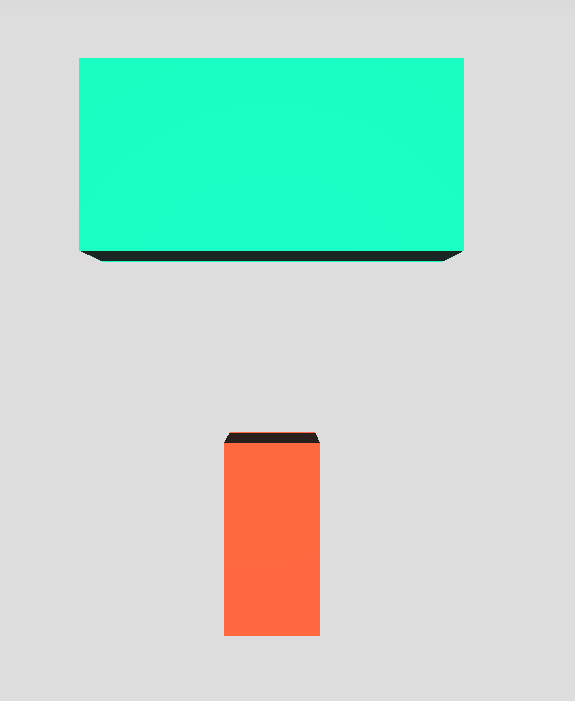
This playground changes the appearance of two resources:
Pickable#
pickable defines, if you can click on a node and therefore interact with it. Resulting that nodes can’t be selected with the mouse in the viewer, but still in the tree view.
If a pickable node is clicked on, it will appear yellow.
await context.setProperty(nodeID, "pickable", false);
Per default all nodes are pickable.
Render Mode#
Different render modes are available and can be changed with the renderMode property and the desired RenderMode enum member.
await context.setProperty(nodeID,"renderMode",webvis.RenderMode.enum);
shaded |
wireframe |
shaded with wireframe |
masked |
masked with wireframe |
|---|---|---|---|---|
|
|
|
|
|
[Faces] |
[Topology]| |
[FacesTopology] |
[Occluder] |
[OccluderTopolgy] |

Transformations#
Note
We are using the library http://glmatrix.net/ for our calculations in these exampes. However, other math libraries and number arrays can be used as well:
// both matrices are equal
const glMatrix_matrix = glMatrix.mat4.fromTranslation(glMatrix.mat4.create(), glMatrix.vec3.fromValues(2,3,4));
const plain_array = [ 1, 0, 0, 0, 0, 1, 0, 0, 0, 0, 1, 0, 2, 3, 4, 1];
The following will give you a short overview about transformations in instant3Dhub.
Every node in a scene has a transformation property, which is implemented as a 4x4 matrix in homogenous coordinates. It’s used to store and manipulate the position, rotation and scale of the node.
The hierarchical transformation is accessed by the localTransform property. <br> To change this property first a matrix is created with the wanted values and then the localTransform changed accordingly. Use the following functions:
Translation:#
const m = glMatrix.mat4.fromTranslation(glMatrix.mat4.create(), glMatrix.vec3.fromValues( x, y, z)); // axes as vector
await context.setProperty(nodeID, "localTransform", m);
This playground shows some simple translation:
Rotation:#
const m = glMatrix.mat4.fromRotation(glMatrix.mat4.create(), radian_value, glMatrix.vec3.fromValues(x, y, z));
await context.setProperty(nodeID, "localTransform", m);
Some common radian values:
Degrees |
Radians (approx) |
|---|---|
30° |
0.524 |
45° |
0.785 |
60° |
1.047 |
90° |
1.571 |
180° |
3.142 |
270° |
4.712 |
360° |
6.283 |
The general equation for conversion from degrees to radians is:
Degrees*Math.PI /180 = Radians
This playground shows some basic rotation:
Scaling#
Scaling a node works in a similar way as the previous transformations.
const m = glMatrix.mat4.fromScaling(glMatrix.mat4.create(), glMatrix.vec3.fromValues(0.2,1,1)); // axes as vector (x,y,z)
await context.setProperty(nodeID, "localTransform", m);
Multiple transformations at a time#
In order to e.g. scale and translate a node, you need to concatenate the matrices.
      const m = glMatrix.mat4.fromScaling(glMatrix.mat4.create(), glMatrix.vec3.fromValues(x,y,z));
      const n = glMatrix.mat4.fromTranslation(glMatrix.mat4.create(), glMatrix.vec3.fromValues(x,y,));

      const o = glMatrix.mat4.multiply(glMatrix.mat4.create(),n,m) // important: the first operations is the furthest to the right e.g. scaling before translation
      await context.setProperty(nodeID, "localTransform", o);


.. playground:: ../playground_data/multiple_transformations
Labels#
You can add labels to the nodes. This improves the clarity of the tree.
await context.setProperty(nodeID,"label"); //changes the "name" of the node to "label"
Sometimes it’s convenient to do it directly while creating the node:
await context.add({label: "nodeName", dataURI: "/URI/to/data"});
Initial Properties#
To instantiate a node with predefined values, the inital property is used: `` const nodeID = context.add({label:”NodeLabel”, dataURI: “some_src”, initialProperties: {enum_property: value}}); ``
Recursivity in webvis#
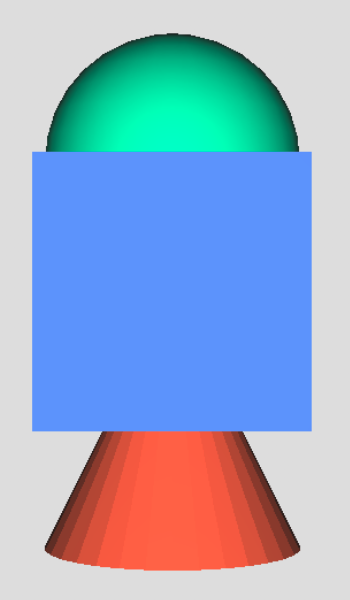
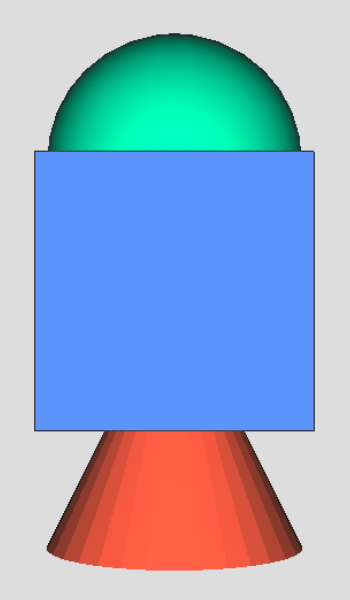
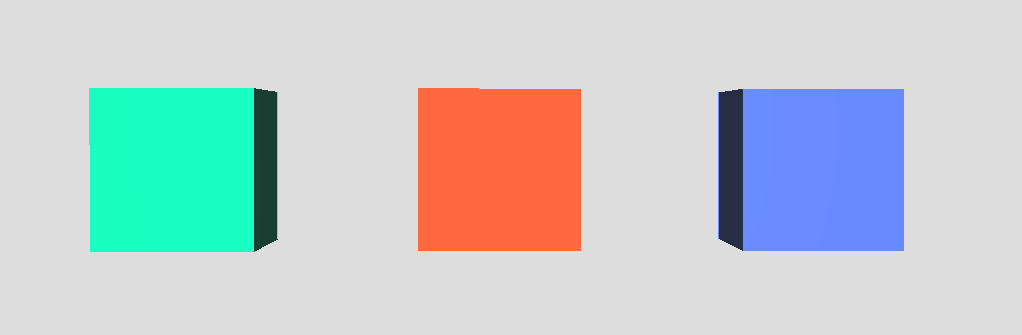
Using the dynamic structure of the InstanceGraph, properties can be overridden recursively. If one node is changed, then all the nodes underneath it are changed in the same way too. The followin playground clarifies this by coloring three different parts of the instanceGraph. The first button changes just one single Node, which has no childNodes. Therefore only it’s own color changes. The second button colors one sub tree, which childNodes are the cone and sphere, hence both nodes change in color. The last button modifies the root node.
More Properties#
There are a lot more properties, which work in the same way, as showed in the examples above. Click here for a complete list.
Next we will learn about the event system of webvis and how to interact with events.